Drop Ceiling Installation Services Overview
This page explains drop ceiling installation services and helps property owners compare local contractors who handle the work.
- • Residential property owners seeking to upgrade or replace existing drop ceilings with professional installation services.
- • Commercial building managers in need of reliable local contractors for drop ceiling installation projects.
- • Contractors or handypersons looking to connect with specialized service providers for drop ceiling setup and finishing.
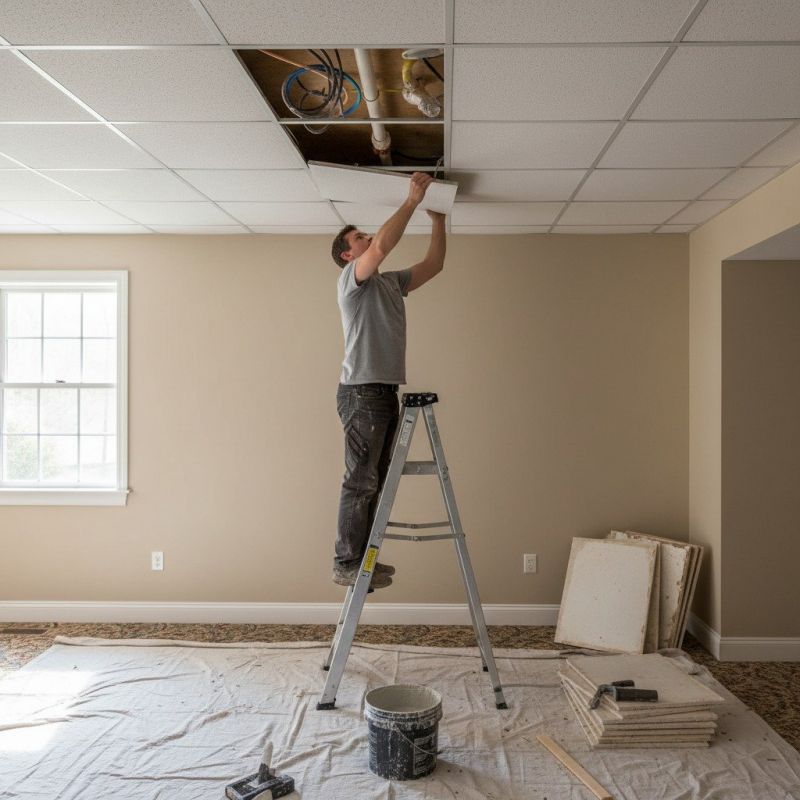
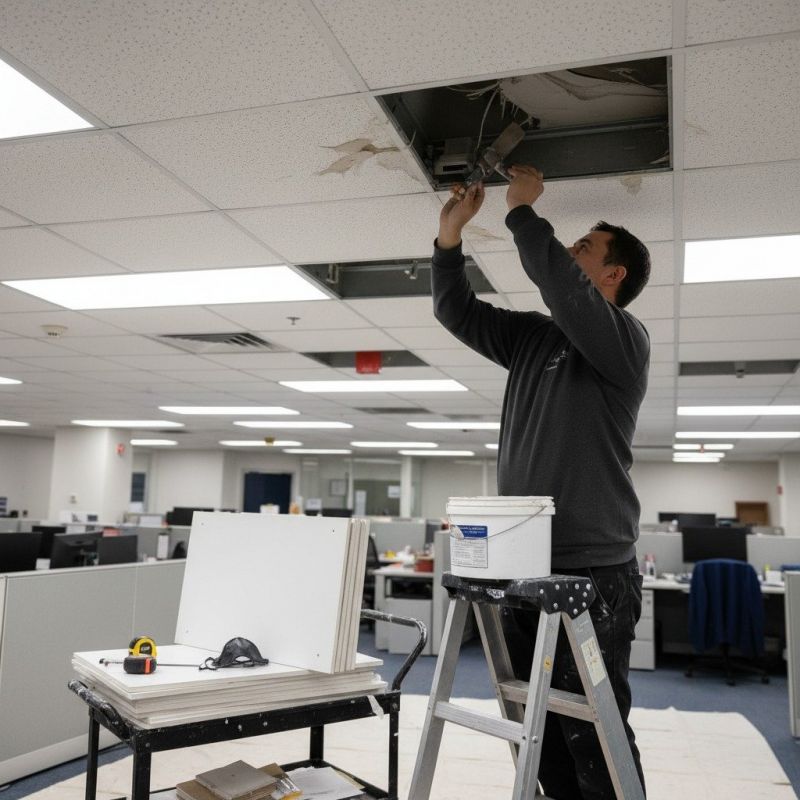
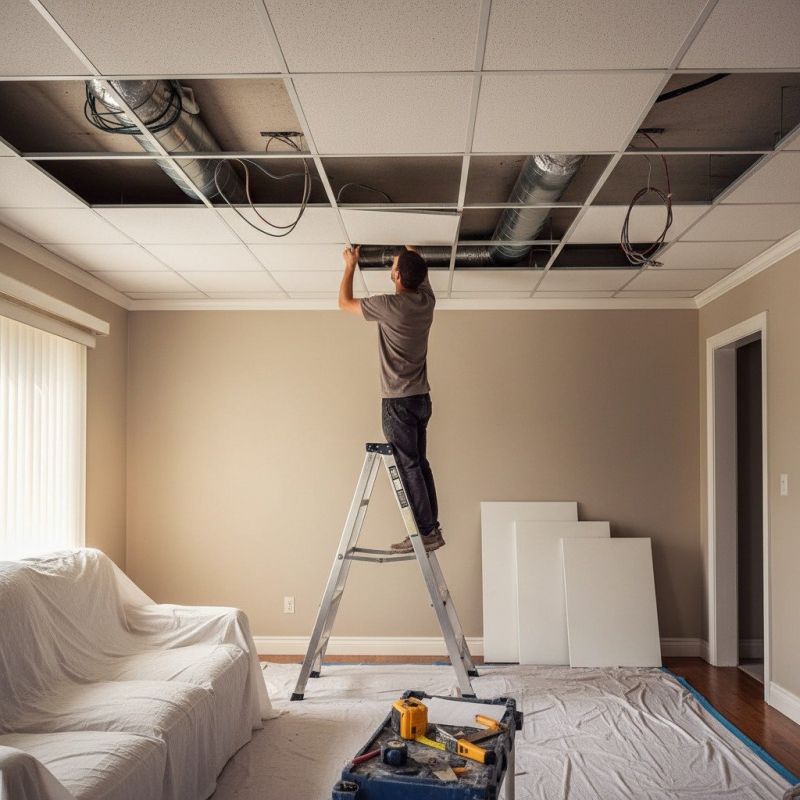
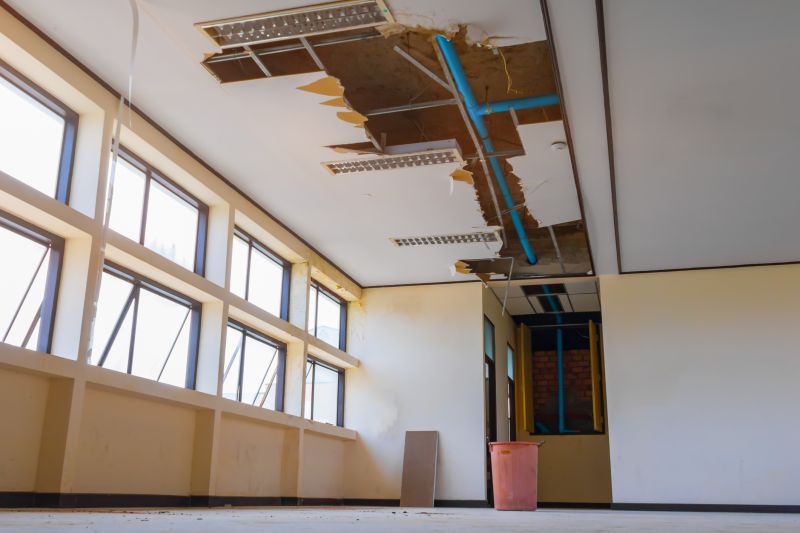
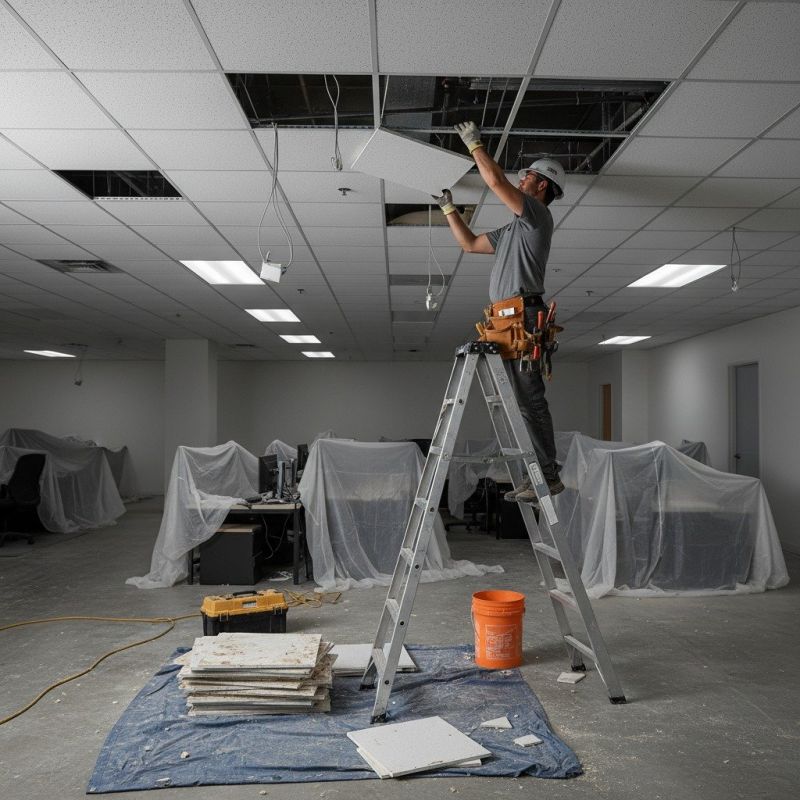
Drop ceiling installation is a common solution for enhancing interior spaces, providing a finished appearance while offering practical benefits like hiding wiring or ductwork. When property owners seek this type of work, they often look for experienced local contractors who can handle the installation process efficiently and professionally. These service providers typically work with a variety of ceiling materials and styles, tailoring their approach to match the specific needs of each space, whether it's a commercial office, retail area, or residential basement.
Connecting with local pros for drop ceiling installation ensures access to skilled contractors familiar with the area's building standards and practices. These professionals can assist with measuring, framing, and installing suspended ceilings, helping property owners achieve a clean, functional look. By comparing local service providers, property owners can find the right fit for their project, ensuring the work is completed to their preferences and requirements.
This guide provides useful information to help compare and evaluate local contractors specializing in drop ceiling installation. It aims to assist in understanding the key aspects of the project to better communicate with service providers. The goal is to support visitors in making informed decisions when connecting with local experts for their ceiling needs.